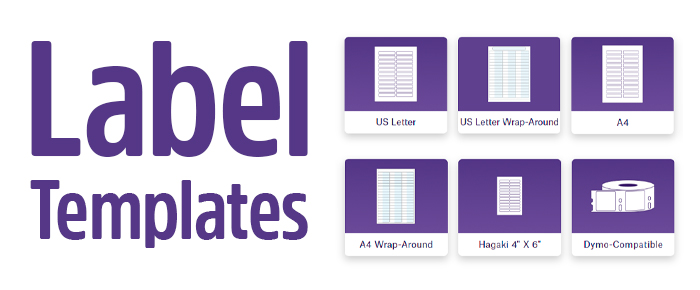
Once an appropriate type of label is chosen, it’s important to perform the proper setup procedures. To do this, label templates, customized to the specific dimensions of the label, are required. Here are several tips for creating and implementing label templates to print your labels consistently and accurately from workflow to workflow.
Know your label dimensions
Labels come in all shapes and sizes. When devising templates for your labels, this information must be correctly inputted, regardless of which app is employed for generating labels. Using the wrong dimensions will skew the proportions of the printout and can result in the printed information, from barcodes to alphanumeric information, being unreadable or entirely cut off. Luckily, most printing wizards have specific input settings for label dimensions.
Follow the template wizard
Speaking of wizards, printing wizards should be utilized to generate label templates whenever and wherever possible. BarTender is the most highly recommended app for generating labels, with a simple, easy-to-use wizard that works with any label shape or configuration.
If using the BarTender wizard, the first thing it will prompt you for is the page size and orientation, followed by the shape of your label.
Margins for the top, bottom, left, and right can be adjusted as needed, along with the number and rows of columns.
Once set, you can specify the printing order of each item using the wizard and view a preview of each label.
Note that each label printing app may have a different variation of the wizard; however, regardless of its interface, it’s always worth following the instructions, step by step.
Choose your barcode wisely
Selecting an appropriate barcode is essential before designing a template. The shape and size of the barcode will dictate the dimensions of your template. While both 1D and 2D barcodes can be outfitted to nearly any label given small enough proportions, it is recommended to maximize spacing such that the barcode is of a size that can be printed clearly and scanners can read it 100% of the time. As such, 1D barcodes are often better suited to longer, rectangular labels, regardless of which 1D barcode is used. 2D barcodes are often more adaptable but require adequate space to provide sufficiently sized quiet zones. Care should also be taken when considering what info to encode, as this will affect the barcode density and, ultimately, its size. Try not to overload a barcode with too much info, as this can negatively affect scanning efficiency.
Use pre-made label templates from a trusted manufacturer
Adopting pre-made templates is an easy approach to setting up your labels. Templates for laser or inkjet labels are typically easy to find online, while pre-made templates for roll labels may be harder to locate. This is where partnering with a trusted label manufacturer is valuable, as not only can they provide you with any number of possible templates, but if a specific template is not found readily online, they can help design one that matches the exact requirements for your printouts. While using pre-made templates is typically a simple process, they can also help guide you through the setup process, from start to finish, to ensure that your labels come out printed as intended and that troubleshooting is kept to a minimum. Ultimately, this avoids errors in the long run and keeps your labels printed consistently and accurately throughout each and every workflow.
LabTAG by GA International is a leading manufacturer of high-performance specialty labels and a supplier of identification solutions used in research and medical labs as well as healthcare institutions.